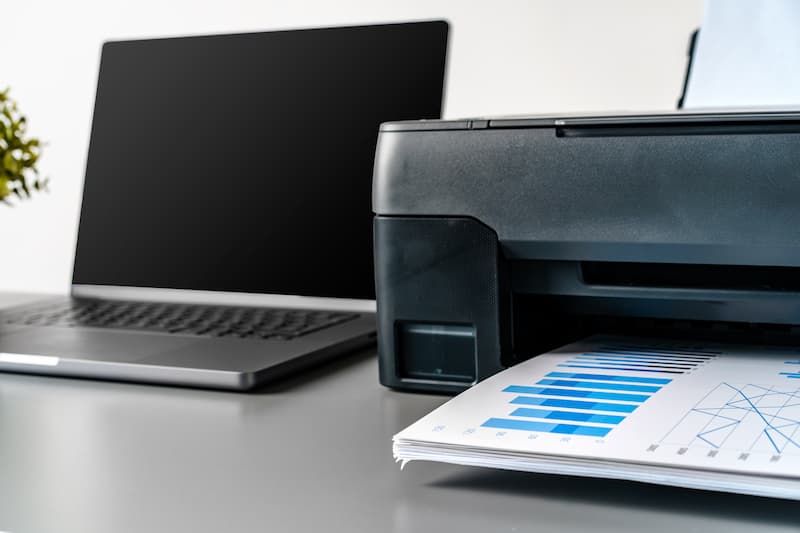
Print from Chromebook can feel tricky, especially for users accustomed to Windows or macOS. However, with a bit of guidance, you can easily set up and print from your Chromebook using both wired and wireless printers. In this guide, we’ll provide detailed instructions on how to print, troubleshoot issues, and optimize your Chromebook printing experience. With clear steps and practical tips, you’ll be printing from your Chromebook in no time.
How to Print from Chromebook: The Basics
Chromebooks operate differently from traditional laptops. Their reliance on cloud-based systems and streamlined interface means printing can work slightly differently. But don’t worry – once you understand the basic process, it’s straightforward. Here’s how to get started.
Printer Compatibility with Chromebooks
The first thing you need to ensure is that your printer is compatible with ChromeOS. While many modern printers from manufacturers like HP, Canon, Epson, and Brother are designed to be Chromebook-compatible, older models may not work seamlessly. To check if your printer is compatible, visit the manufacturer’s website and search for ChromeOS support.
For those using older printers, you may need to either use a USB connection or download additional printer software (which some models provide). Chromebook-compatible printers often support wireless connections, but knowing your printer’s compatibility is the first step.
7 Steps to Print Your First Document from a Chromebook
Once your printer is set up, printing your first document from a Chromebook is simple. Follow these steps to get your print job done in no time:
- Ensure your Chromebook and printer are connected to the same Wi-Fi network.
- Open the document, image, or webpage you want to print.
- Press Ctrl + P on your keyboard or select the print option in the menu.
- In the Print Dialog Box, select your printer from the drop-down menu.
- Adjust print settings such as paper size, layout, and color options.
- Click Print and wait for your document to print.
- If successful, check your printer for the printed document.
Setting Up Your Printer on Chromebook: Step-by-Step Instructions
Before printing, you must add your printer to the Chromebook. Whether your printer is wireless or you’re using a USB connection, setting up a printer is a simple process on ChromeOS. Here’s a detailed guide to setting up your printer.
Step 1: Checking Printer Compatibility
First, confirm your printer’s compatibility. If you haven’t already, visit the printer manufacturer’s website and check if your model supports Chromebooks. Brands like HP, Canon, and Brother usually indicate which of their printers work with ChromeOS. If you’re unsure, you can also refer to the printer’s manual for details.
For older models, if the printer isn’t listed as Chromebook-compatible, you may need to use a USB connection, which we will cover later in the article. Ensuring compatibility is essential to avoid frustration when setting up the printer.
Step 2: Adding a Wireless Printer to Your Chromebook
If you’re using a wireless printer, follow these instructions:
- On your Chromebook, click the time in the bottom-right corner to open the settings menu.
- Scroll down and select Settings, then click on Advanced.
- Under Printing, click Add Printer.
- Your Chromebook will search for printers connected to the same Wi-Fi network.
- Select your printer from the list and follow the on-screen instructions.
- If your printer does not appear, you may need to enter the Printer’s IP Address manually.
- Once the printer is added, print a test page to ensure everything is set up correctly.
If you need to manually enter the IP address, you can typically find it in the printer’s settings or by printing a network configuration page directly from the printer.
Step 3: Setting Up Printer via Wi-Fi
Setting up a wireless printer with your Chromebook can simplify your printing experience. For this, you’ll need both the printer and Chromebook connected to the same Wi-Fi network. Here are the steps:
- Ensure your printer is powered on and connected to Wi-Fi.
- Open the Settings on your Chromebook.
- Select Advanced settings and click on Printing.
- Choose Add Printer and allow your Chromebook to search for available printers on the network.
- Select your printer from the list. If your printer is not detected, you may need to input the Printer’s IP Address manually.
- Once added, you can adjust any additional settings, such as paper type, print quality, or color options.
- Test the connection by printing a test document to ensure that the Wi-Fi setup works smoothly.
This Wi-Fi method is convenient, allowing you to print wirelessly without needing a USB cable.
Printing via USB Cable: How to Connect Directly
If your printer doesn’t support wireless printing or if you prefer a more stable connection, you can use a USB cable to print directly from your Chromebook. Here’s a detailed guide on how to connect and print using a USB cable.
Step-by-Step Guide to Printing via USB Cable
- Plug one end of the USB cable into your Chromebook and the other into the printer’s USB port.
- Open the Settings menu on your Chromebook by clicking the time in the bottom-right corner.
- Navigate to Advanced, then Printing.
- Select Add Printer and choose the connected printer from the list of available devices.
- Confirm the printer and follow the on-screen prompts to complete the setup.
- Once the printer is connected, you can print documents by opening the Print Dialog Box and selecting the connected printer.
- Adjust your print settings and click Print to complete the process.
USB printing is a reliable option, especially for older printers that lack wireless capabilities. It’s also helpful in environments where Wi-Fi isn’t available or stable.
Printer Setup via Android App
Some modern printers come with companion apps that simplify the process of printing and scanning documents from mobile devices. These apps can also help you manage the printer’s settings and troubleshoot issues.
How to Use Android Apps for Printer Setup
If your printer’s manufacturer provides an Android app (such as HP Smart, Canon Print, or Epson iPrint), you can use it on your Chromebook. Here’s how:
- Download the printer’s app from the Google Play Store on your Chromebook.
- Open the app and follow the on-screen instructions to connect the printer.
- You can use the app to scan documents, monitor ink levels, and adjust print settings directly from your Chromebook.
- The app will also help with updating the printer’s firmware, which ensures smooth compatibility with ChromeOS.
These apps often offer more advanced control over the printer, such as remote printing and cloud document storage options, making them an excellent addition for regular printer users.
Troubleshooting Printer Issues on Chromebook
Despite the ease of use, printing from a Chromebook can occasionally encounter problems. Common issues include the printer not being recognized or the print job not going through. Here are some troubleshooting steps to fix these common problems.
7 Steps to Troubleshoot Printer Issues
- Restart both your Chromebook and the printer to refresh the connection.
- Ensure that both devices are connected to the same Wi-Fi network.
- Check for any firmware updates for both the printer and your Chromebook.
- Try removing and re-adding the printer in the Settings menu.
- Manually enter the Printer’s IP Address if the printer is not automatically detected.
- Check the printer’s settings to ensure it is set as the default printer.
- If all else fails, reset the printer to factory settings and start the setup process again.
Cloud Printing with Chromebook: Alternative Methods
Although Google Cloud Print was discontinued, several third-party cloud printing services can still make printing from your Chromebook easier. These services are especially useful for remote printing, allowing you to print documents even when you’re not in the same location as the printer.
Setting Up Third-Party Cloud Printing Services
One of the most popular alternatives is PaperCut, which allows you to manage print jobs across different devices. Another useful service is CUPS (Common Unix Printing System), which supports networked and shared printing across different operating systems.
Here’s how to set up a third-party cloud printing service:
- Sign up for the service of your choice, such as PaperCut or CUPS.
- Connect your printer to the service following their instructions.
- Use the cloud printing service to manage print jobs and send documents to your printer, even if you’re away from the office or home.
These services are great for users who need to print from multiple devices or in an office environment with multiple printers.
How to Scan a Document with Your Chromebook
Chromebooks are not only capable of printing but also scanning. Whether you’re using an all-in-one printer or your Chromebook’s camera, you can easily scan and save documents.
Scanning with an All-in-One Printer
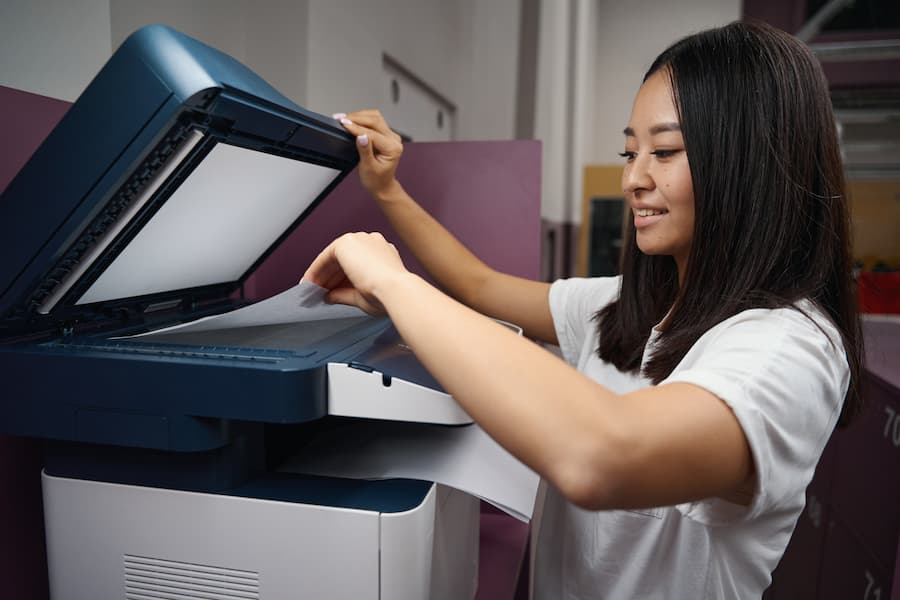
If you have an all-in-one printer with scanning capabilities, follow these steps to scan a document:
- Open your printer’s Android app or the ChromeOS Settings menu.
- Choose the Scan option from the app or printer settings.
- Place the document you want to scan on the printer’s flatbed scanner.
- Select your scan settings (such as resolution or format) and start the scan.
- Save the scanned document to your Chromebook’s Files app as a PDF or image file.
Scanning with Your Chromebook’s Camera
If you don’t have access to a scanner, you can use your Chromebook’s built-in camera to scan documents:
- Open the Camera app on your Chromebook.
- Place the document flat on a surface with good lighting.
- Position the Chromebook’s camera over the document and capture the image.
- Save the captured image as a PDF or JPEG file.
- Use your Chromebook’s built-in editing tools to crop and enhance the image if needed.
This method may not offer the same quality as a traditional scanner but works in a pinch for simple document scans.
Frequently Asked Questions (FAQs)
Why doesn’t my printer appear as an option when I try to print?
If your printer doesn’t appear in the Print Dialog Box, ensure that both your Chromebook and printer are connected to the same Wi-Fi network. Many printers support wireless connectivity, but if the printer is not on the same network, it won’t be visible to your Chromebook. If you’re using a USB connection, check that the cable is securely plugged into both the printer and the Chromebook. Make sure to plug the other end of the cable directly into your Chromebook, and then re-add the printer in the Settings menu by selecting the Add Printer option. If the issue persists, try updating your printer’s firmware or checking your Chromebook’s compatibility with that specific printer model.
Can I print from a Chromebook without Wi-Fi?
Yes, you can print from a Chromebook even without Wi-Fi by using a USB cable. Simply plug the other end of the USB cable into your Chromebook, and your computer should automatically detect the printer. Chromebooks use simple plug-and-play functionality, making it easier than you think to print via a wired connection. Refer to the USB Printing Guide to complete the setup process and start printing directly. This is especially useful for older printer brands that may not have wireless capabilities or when Wi-Fi is unreliable.
What should I do if my Chromebook is connected but not printing?
If your Chromebook is connected to the printer but isn’t printing, there are a few troubleshooting steps you can follow. First, restart both your Chromebook and the printer to refresh the connection. Check if there are any firmware updates available for your printer on the manufacturer’s website, as some printers support ChromeOS better after updates. Next, ensure that the printer is set as the default device in the Print Dialog Box and that you’ve selected the correct printer model. If problems persist, you can remove the printer from the Settings menu, then re-add it by selecting the Manage Printers option and following the prompts.
Are all printers compatible with Chromebooks?
Not all printers are fully compatible with Chromebooks, so it’s essential to verify compatibility before purchasing a printer. Many of the best printers for Chromebooks are newer models designed to integrate seamlessly with ChromeOS. Older printers may require manual setup via USB or may not offer full functionality with Chromebooks. To ensure compatibility, check the printer’s documentation or consult the manufacturer’s website. Printer brands like HP, Canon, Brother, and Epson often have specific models that work well with Chromebooks. However, if you’re using an older model, you may need third-party apps or cloud printing services to fully utilize your printer.
How do I scan documents using a Chromebook?
Scanning documents with a Chromebook is easy if you have an all-in-one printer. To scan, access the Scan option in the printer’s app or through your Chromebook’s Settings under Manage Printers. This will allow you to scan documents directly to your computer. If you don’t have an all-in-one printer, you can use the Camera app on your Chromebook to scan documents. Open the camera, place the document flat, and use the Capture feature to take a picture of the document. You can then save it as a PDF or image file. This method is particularly useful if you need to quickly copy documents without a dedicated scanner. Chromebooks also function well with third-party scanning apps, giving you even more options for scanning documents.
By following these simple steps, printing and scanning from a Chromebook becomes seamless. Whether you’re using a wireless connection or USB, connecting a printer is straightforward and efficient. Chromebooks help you make the most of your device by allowing you to easily select manage printer settings. If you’ve wanted to dive deeper into productivity, computers also function well with keyboard shortcuts – just press and hold Ctrl + P to print quickly. Chromebooks also make it simple to copy their documents and also scan documents with ease, whether through a connected printer or your Chromebook’s built-in features. This ensures your workflow is smooth and optimized for any task.
Titan Office Solutions
Phone: (704) 741-0821
Email: info@titanofficesolutions.com
Hours of Operations: Monday through Friday from 8:30 AM to 6 PM EST.
Website: titanofficesolutions.com


