
To use a scanner, place your document face down on the glass (or face up in the document feeder), open your scanning app, choose the file type and resolution, then press Scan and save the file. The exact app depends on your device: Windows Scan on a PC, Image Capture or Preview on a Mac, the control panel on an office copier, or the Notes or Google Drive app on a phone. Step-by-step instructions for each are below, along with the best settings and fixes for common problems.
How to use a scanner: the basic steps
- Connect and turn on the scanner. Plug it in by USB or make sure it’s on the same Wi-Fi or office network as your computer.
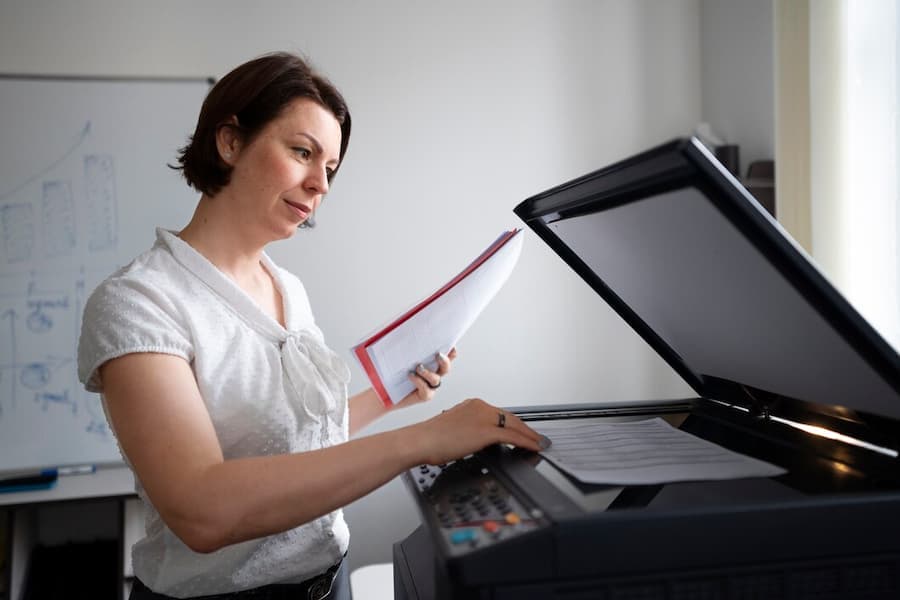
- Load the document. On a flatbed, place the page face down and line it up with the arrow in the corner of the glass. In an automatic document feeder (ADF), stack pages face up with the top edge going in first.
- Open your scanning software. See the device-specific steps below.
- Choose your settings. Pick color or black-and-white, the resolution (300 DPI is right for most documents), and the file type (PDF for documents, JPEG or PNG for photos).
- Preview, then scan. Use Preview to check the page is straight and fully inside the scan area, then click Scan.
- Name and save the file. Choose a folder you’ll remember and a descriptive name, such as “2026-10-invoice-acme.pdf”.
How to scan on Windows 11
- Go to Settings > Bluetooth & devices > Printers & scanners. If your scanner isn’t listed, click Add device.
- Select your scanner and click Open scanner, or open the Windows Scan app (free from the Microsoft Store).
- Choose the source (Flatbed or Feeder), file type and color mode, then click Preview.
- Click Scan. Files save to the Pictures > Scans folder by default.
Windows Fax and Scan, the older built-in tool, still works if you prefer it: search for it in the Start menu. Many scanners also come with the manufacturer’s own app (HP Smart, Epson ScanSmart, Canon IJ Scan Utility, Brother iPrint&Scan) with extra options like multi-page PDFs and text recognition.
How to scan on a Mac
- Open Image Capture (in Applications) or go to System Settings > Printers & Scanners, select your scanner and click Open Scanner.
- Click Show Details to choose the resolution, color, file format and where to save.
- Choose PDF and tick “Combine into single document” if you’re scanning several pages.
- Click Scan.
You can also scan straight into Preview with File > Import from Scanner.
How to scan on an office copier or all-in-one printer
Most office multifunction printers scan without a computer at all:
- Load the pages in the document feeder or on the glass.
- On the touchscreen, tap Scan (sometimes labeled Scan to Email, Scan to Folder or Send).
- Choose the destination: your email address from the address book, a shared network folder, a USB drive, or a cloud service if your copier supports it.
- Set the file type (PDF is standard), color, and one- or two-sided scanning.
- Press Start.
If scan to email or scan to folder isn’t set up yet, that’s a one-time configuration your copier dealer or IT team can do. For step-by-step help on home all-in-ones, see how to scan a paper on a printer.
How to scan a document to PDF
PDF is the best format for documents because it keeps multiple pages in one file and opens on any device. To scan to PDF:
- Windows: in the Windows Scan app, set File type to PDF.
- Mac: in Image Capture, set Format to PDF and tick “Combine into single document”.
- Office copier: choose PDF as the file format on the scan screen. Many copiers also offer “searchable PDF”, which runs text recognition (OCR) so you can search and copy the text later.
- iPhone or iPad: scans made in the Notes or Files app are saved as PDFs automatically.
How to scan with your phone
No scanner nearby? Your phone does a good job with documents:
- iPhone and iPad: open the Notes app, create a note, tap the camera or paperclip icon, and choose Scan Documents. The Files app has the same option in its menu. Hold the phone over the page and it captures automatically.
- Android: open the Google Drive app, tap + (New), then Scan. Drive crops the page, cleans it up and saves it as a PDF.
For best results, scan on a dark, plain surface in good, even light.
Best scanner settings

| What you’re scanning | Resolution | Color mode | File type |
|---|---|---|---|
| Text documents, forms, invoices | 200 to 300 DPI | Black-and-white or grayscale | PDF (searchable if available) |
| Documents with color logos or charts | 300 DPI | Color | |
| Photos to view on screen | 300 DPI | Color | JPEG |
| Photos to enlarge or reprint | 600 DPI or higher | Color | TIFF or PNG |
| Receipts and business cards | 300 DPI | Grayscale |
Higher resolution means bigger files and slower scans. For everyday documents, 300 DPI gives sharp text at a manageable file size.
Troubleshooting common scanner problems
The computer can’t find the scanner
Check the USB cable or that the scanner and computer are on the same network. Restart both, then re-add the scanner in Printers & Scanners. Installing the latest driver or app from the manufacturer’s website fixes most detection problems.
Scans have lines, streaks or spots
Clean the scanner glass with a lint-free cloth and a little glass cleaner sprayed on the cloth, not the glass. On machines with a document feeder, also clean the narrow glass strip next to the main glass: dust there causes vertical lines on every page fed through.
Pages come out crooked or cut off
Line the page up with the corner guide on the flatbed, or adjust the feeder guides so they touch both edges of the stack. Use Preview to adjust the scan area before scanning.
Files are too large to email
Lower the resolution to 200 or 300 DPI, scan text in black-and-white or grayscale, and use PDF rather than TIFF.
Scan to email stopped working on the office copier
This is usually an email server or password change. The copier’s SMTP settings need updating, which your copier dealer or IT team can do.
Tips for scanning faster
- Use the document feeder for multi-page documents instead of scanning one page at a time on the glass.
- Turn on duplex scanning to capture both sides of each page in one pass.
- Use OCR (searchable PDF) so you can find documents later by searching their text.
- Scan straight to the cloud or a shared folder so files land where your team needs them.
- Set up one-touch profiles on office copiers for jobs you repeat, like “Invoices to accounting folder”.
Frequently asked questions
How do I scan a document to my computer?
Place the document on the scanner, open Windows Scan (on a PC) or Image Capture (on a Mac), choose your settings and click Scan. The file saves to your chosen folder.
How do I scan multiple pages into one PDF?
Use the document feeder and choose PDF as the file type. On a Mac, tick “Combine into single document”. On an office copier, all pages fed in one job are saved to one PDF.
What DPI should I scan at?
300 DPI is right for most documents and photos you’ll view on screen. Use 600 DPI or higher only for photos you plan to enlarge or reprint.
Can I scan without a scanner?
Yes. The Notes app on iPhone and the Google Drive app on Android both scan documents with your camera and save them as PDFs.
Scanning a lot in your office?
If your team scans every day, a modern multifunction copier with a fast duplex document feeder, scan to email and searchable PDF saves hours each week. Titan Office Solutions sets up and services multifunction copiers for businesses across North Carolina, South Carolina and Virginia, including scan workflows. Explore copier leasing or get a free assessment.