
“Enable printer pooling” is a Windows setting that lets one printer icon send jobs to several identical physical printers. When you print, Windows sends the job to whichever printer in the pool is free, so long queues get spread across machines instead of piling up on one. You’ll find the checkbox on the Ports tab of a printer’s properties. Leave it unticked unless you have two or more identical printers sitting next to each other.
What does printer pooling mean?
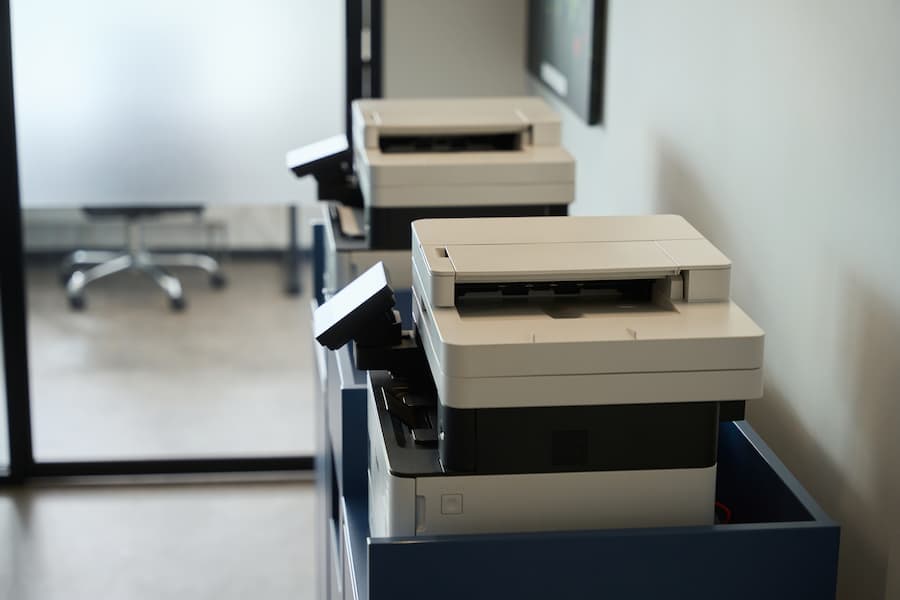
Normally, one printer in Windows is connected to one port, which means one physical machine. With printer pooling, a single logical printer is connected to several ports, each leading to a different physical printer. Users see and print to one printer name. Behind the scenes, Windows checks which device is available and sends the job there.
Example: an office has three identical printers (A, B and C) side by side. All three are pooled under one name, “Front Office Printer”. If A is busy with a 200-page report, the next person’s job goes to B, and the one after that to C. Nobody waits for the long job to finish.
Should I enable printer pooling?
| Enable it if | Leave it off if |
|---|---|
| You have two or more identical printers (same model or same driver) | You only have one printer, which is the case for most home users |
| The printers are in the same room or right next to each other | The printers are in different rooms or on different floors |
| Long print queues regularly slow people down | People need to know exactly which machine their document will come out of |
| You want a backup if one printer jams or runs out of paper | The printers are different models with different drivers |
The biggest drawback is that users don’t choose the printer, so pooled printers must be close together. Otherwise people end up walking between rooms looking for their pages.
How to enable printer pooling in Windows 11 and Windows 10
- Install all the printers you want to pool and make sure each one prints on its own.
- Open Settings > Bluetooth & devices > Printers & scanners (in Windows 10: Settings > Devices > Printers & scanners).
- Select the printer you want to use as the pool and click Printer properties.
- Open the Ports tab.
- Tick Enable printer pooling.
- Tick the port for each additional printer you want in the pool. Each printer needs its own port (for network printers, a Standard TCP/IP port with that printer’s IP address).
- Click Apply, then OK.
- Print a few test pages back to back to confirm jobs spread across the printers.
You can now remove or hide the other printers’ individual icons so everyone prints to the pool.

Setting up a printer pool on a print server
In an office, the pool is usually set up once on a Windows print server rather than on every PC. Open Print Management, right-click the shared printer, choose Properties > Ports, enable pooling and add the ports. Every computer that connects to that shared printer then uses the pool automatically.
Printer pooling requirements
- Identical printers, or printers that use the same driver. Windows sends one job format to every printer in the pool, so the models must understand the same driver.
- One port per printer, usually a TCP/IP port pointing at each printer’s IP address.
- Fixed IP addresses. Reserve each printer’s address on your router or DHCP server so the ports don’t break when addresses change.
- Printers in the same place, so users can find their output.
Troubleshooting printer pooling
All jobs still go to the first printer
That’s normal when the first printer is free. Windows only moves to the next printer when the first one is busy. Send several jobs at once to test.
A job gets stuck when one printer jams
Once a job is sent to a printer, it waits for that printer. Clear the jam, or cancel and resend the job so it goes to another printer in the pool.
Garbled pages on one printer
The printers probably need different drivers. Pool only identical models, or models that share the same universal driver.
Alternatives to printer pooling
Printer pooling is a simple, built-in fix, but modern offices often use something better: secure pull printing (also called follow-me printing). Users print to one queue and release their job at any printer by tapping a badge or entering a PIN. It balances load like pooling, people choose the closest machine, and confidential documents never sit in a tray. It’s a common part of managed print services.
Frequently asked questions
What does “enable printer pooling” mean?
It’s a Windows option that connects one printer name to multiple identical physical printers, so jobs automatically go to whichever printer is free.
Should I enable printer pooling at home?
No. With a single printer, pooling does nothing. Leave the box unticked.
Can I pool different printer models?
Only if they use the same driver. Different drivers produce garbled or failed prints, so pool identical models whenever possible.
Does printer pooling work on Mac?
Printer pooling as described here is a Windows feature. Mac offices typically use a print server or a pull-printing solution to share load across printers.
Need help setting up office printing?
Titan Office Solutions sets up and services printer fleets, print servers and secure pull printing for businesses across North Carolina, South Carolina and Virginia, with a guaranteed 4-hour onsite response. Get a free assessment of your print setup.